Unity - LineRenderer:線を引く -
初めに
LineRenderer を用いて線を引く方法をまとめます。
Index
LineRenderer とは
3D 空間における 2つ以上の点の配列を利用し、それぞれの間に直線を描画します。したがって、1 つの Line Renderer コンポーネントを使用して、1 本の直線から、複雑な螺旋まで描画できます。
線を引く
LineRenderer コンポーネントの SetPosition、SetPositions を使うことで線を引くことができます。どちらも直線が通る点を指定します。LineRenderer コンポーネントは AddComponent で追加しています。
SetPosition
public void SetPosition (int index, Vector3 position);
index は何個目の点かを表します。0 が 1 点目、1 が 2 点目になります。
using System.Collections;
using System.Collections.Generic;
using UnityEngine;

public class LinerendererScript : MonoBehaviour
{
    LineRenderer linerend;

    void Start()
    {
        linerend = gameObject.AddComponent<LineRenderer>();

        Vector3 pos1 = new Vector3(0, -3, 0);
        Vector3 pos2 = new Vector3(0, 3, 0);

        // 線を引く場所を指定する
        linerend.SetPosition(0, pos1);
        linerend.SetPosition(1, pos2);
    }
}

SetPositions
public void SetPositions (Vector3[] positions);
using System.Collections;
using System.Collections.Generic;
using UnityEngine;

public class LinerendererScript : MonoBehaviour
{
    LineRenderer linerend;

    void Start()
    {
        linerend = gameObject.AddComponent<LineRenderer>();

        Vector3[] positions = new Vector3[]{
        new Vector3(-3, 0, 0),               // 開始点
        new Vector3(3, 0, 0),               // 終了点
        };

        // 線を引く場所を指定する
        linerend.SetPositions(positions);
    }
}

直線を折り曲げる
指定する点の数を増やすことで、直線を折り曲げることができます。
public int positionCount ;
下のスクリプトのように、頂点の数を Length などで表しておくと点の数を増やしたときに修正する手間が減ります。
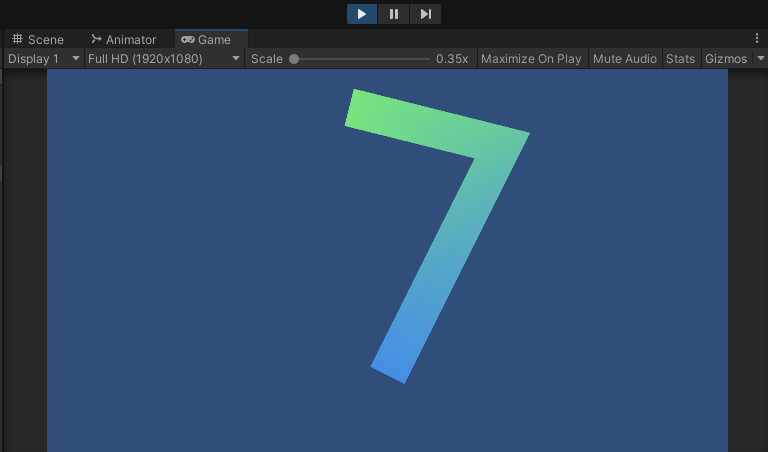
using System.Collections;
using System.Collections.Generic;
using UnityEngine;

public class LinerendererScript : MonoBehaviour
{
    LineRenderer linerend;

    void Start()
    {
        linerend = gameObject.AddComponent<LineRenderer>();

        Vector3[] positions = new Vector3[]{
        new Vector3(0, -3, 0),
        new Vector3(3, 3, 0),
        new Vector3(0, 3, 0),
        };

        // 点の数を指定する
        linerend.positionCount = positions.Length;

        // 線を引く場所を指定する
        linerend.SetPositions(positions);
    }
}

太さを変える
startWidth、endWidth
public float startWidth ;
public float endWidth ;
startWidth で始点の幅を、endWidth で終点の幅を指定できます。
using System.Collections;
using System.Collections.Generic;
using UnityEngine;

public class LinerendererScript : MonoBehaviour
{
    LineRenderer linerend;

    void Start()
    {
        linerend = gameObject.AddComponent<LineRenderer>();

        Vector3[] positions = new Vector3[]{
        new Vector3(0, -3, 0),
        new Vector3(3, 3, 0),
        };

        //始点、終点の幅を変更
        linerend.startWidth = 0.1f;
        linerend.endWidth = 2.0f;

        // 線を引く場所を指定する
        linerend.SetPositions(positions);
    }
}

widthCurve
AnimationCurve を用いることで幅を変更することもできます。
public AnimationCurve widthCurve ;
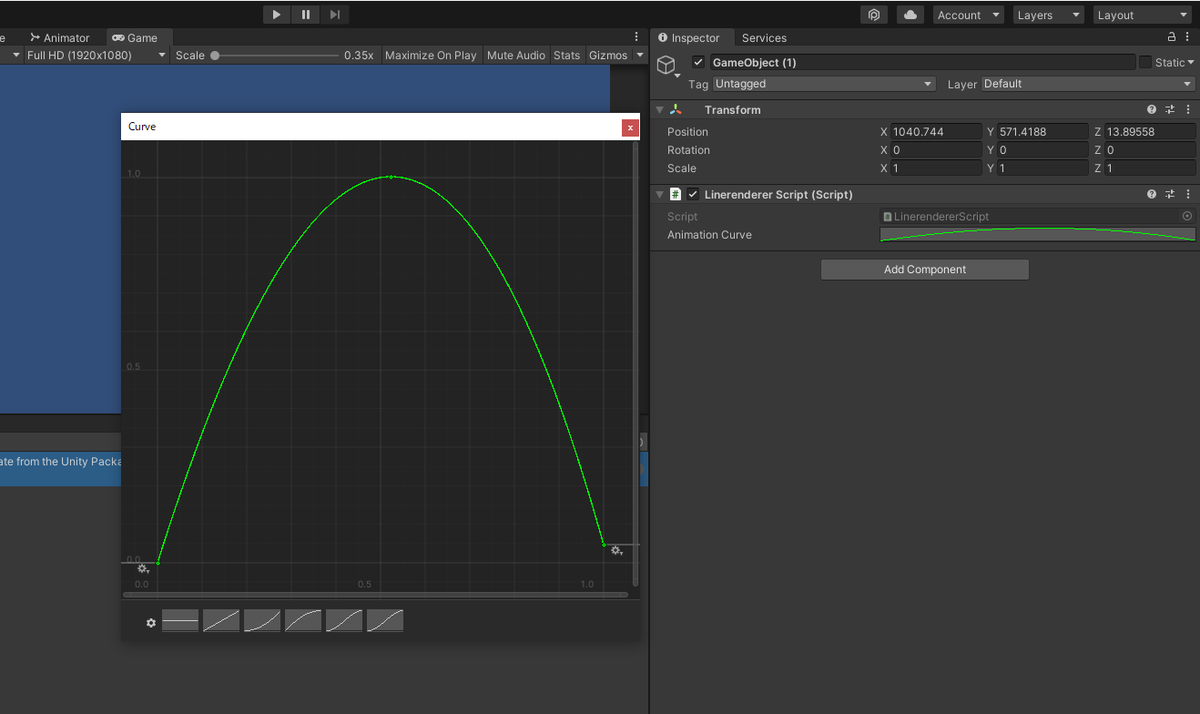
using System.Collections;
using System.Collections.Generic;
using UnityEngine;

public class LinerendererScript : MonoBehaviour
{
    LineRenderer linerend;
    [SerializeField] private AnimationCurve _animationCurve;

    void Start()
    {
        linerend = gameObject.AddComponent<LineRenderer>();

        Vector3[] positions = new Vector3[]{
        new Vector3(0, -3, 0),
        new Vector3(3, 3, 0),
        new Vector3(-1, 4, 0),
        };

        // 点の数を指定する
        linerend.positionCount = positions.Length;
        // 線の幅を AnimationCurve にする
        linerend.widthCurve = _animationCurve;

        // 線を引く場所を指定する
        linerend.SetPositions(positions);
    }
}
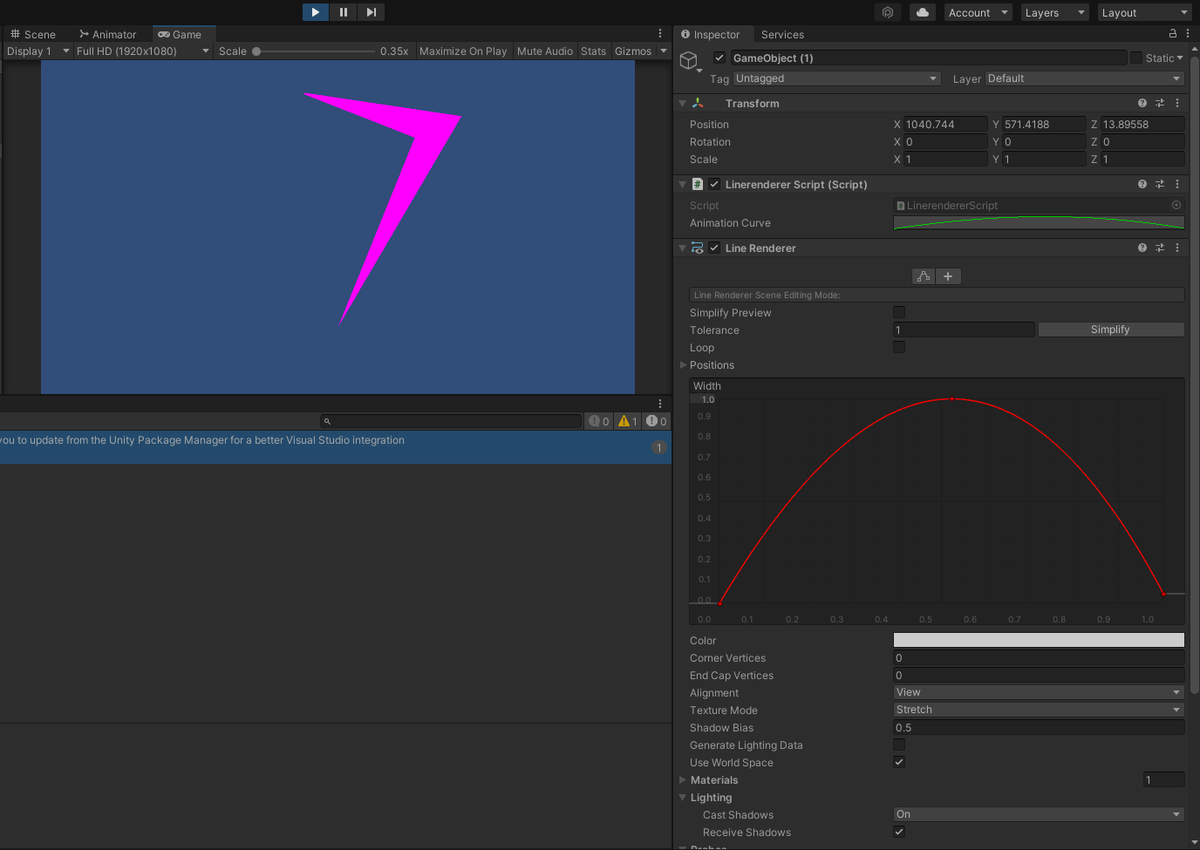
(注意)
セットした点(Vector3)の個数と AnimationCurve の Key の個数は一致させる必要があります。AnimationCurve の Key はグラフを右クリックした表示される AddKey をクリックすることで追加できます。下の画像では Key が始点、放物線の頂点付近、終点の3つの Key があります。
widthMultiplier
線全体の太さを何倍にするか指定します。
public float widthMultiplier ;
先ほどの widthCurve のスクリプトに widthMultiplier の記述を追加しただけです。
using System.Collections;
using System.Collections.Generic;
using UnityEngine;

public class LinerendererScript : MonoBehaviour
{
    LineRenderer linerend;
    [SerializeField] private AnimationCurve _animationCurve;

    void Start()
    {
        linerend = gameObject.AddComponent<LineRenderer>();

        Vector3[] positions = new Vector3[]{
        new Vector3(0, -3, 0),
        new Vector3(3, 3, 0),
        new Vector3(-1, 4, 0),
        };

        // 点の数を指定する
        linerend.positionCount = positions.Length;
        // 線の幅を AnimationCurve にする
        linerend.widthCurve = _animationCurve;
        // 線の太さを 0.1倍にする
        linerend.widthMultiplier = 0.1f;

        // 線を引く場所を指定する
        linerend.SetPositions(positions);
    }
}

色を変える
startColor、endColor
public Color startColor ;
public Color endColor ;
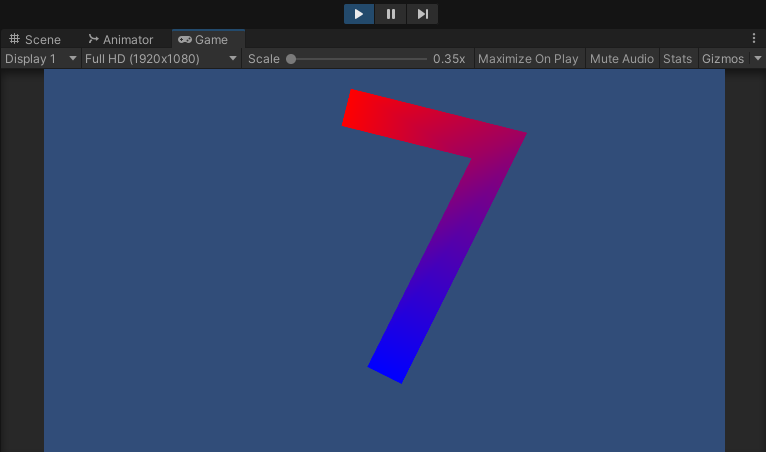
startColor で始点の色、endColor で終点の色を指定します。なお、Material を設定しないと色が変化しないため、Material も設定しましょう。
using System.Collections;
using System.Collections.Generic;
using UnityEngine;

public class LinerendererScript : MonoBehaviour
{
    LineRenderer linerend;

    void Start()
    {
        linerend = gameObject.AddComponent<LineRenderer>();

        Vector3[] positions = new Vector3[]{
        new Vector3(0, -3, 0),
        new Vector3(3, 3, 0),
        new Vector3(-1, 4, 0),
        };

        // 点の数を指定する
        linerend.positionCount = positions.Length;

        //マテリアルの設定
        linerend.material = new Material(Shader.Find("Sprites/Default"));
        //色を指定する
        linerend.startColor = Color.blue;
        linerend.endColor = Color.red;

        // 線を引く場所を指定する
        linerend.SetPositions(positions);
    }
}
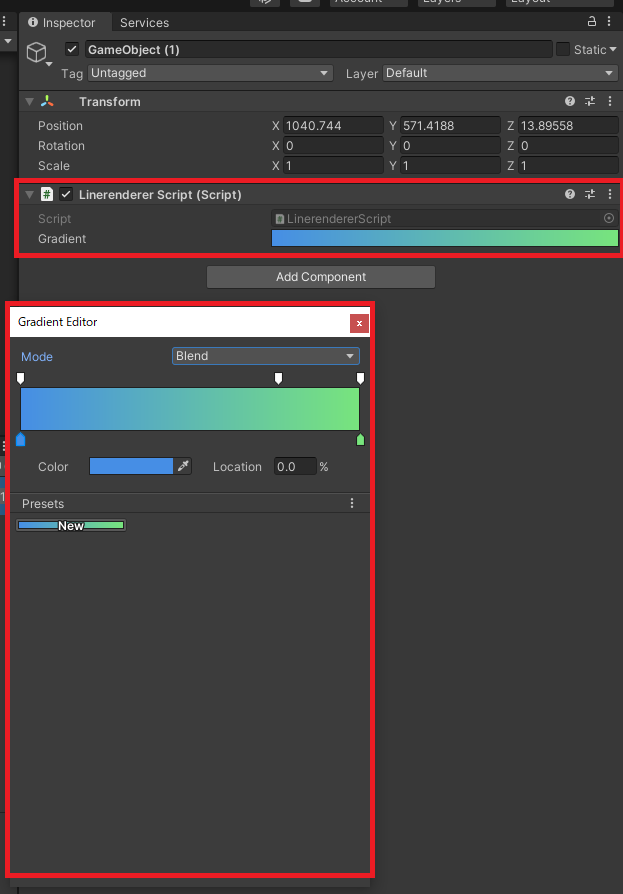
colorGradient
public Gradient colorGradient ;
colorGradient を使うことでより細かく色の設定をすることができます。
using System.Collections;
using System.Collections.Generic;
using UnityEngine;

public class LinerendererScript : MonoBehaviour
{
    LineRenderer linerend;
    [SerializeField] private Gradient _gradient;

    void Start()
    {
        linerend = gameObject.AddComponent<LineRenderer>();

        Vector3[] positions = new Vector3[]{
        new Vector3(0, -3, 0),
        new Vector3(3, 3, 0),
        new Vector3(-1, 4, 0),
        };

        // 点の数を指定する
        linerend.positionCount = positions.Length;

        //マテリアルの設定
        linerend.material = new Material(Shader.Find("Sprites/Default"));
        //色を指定する
        linerend.colorGradient = _gradient;

        // 線を引く場所を指定する
        linerend.SetPositions(positions);
    }
}
ループ
public bool loop ;
using System.Collections;
using System.Collections.Generic;
using UnityEngine;

public class LinerendererScript : MonoBehaviour
{
    LineRenderer linerend;

    void Start()
    {
        linerend = gameObject.AddComponent<LineRenderer>();

        Vector3[] positions = new Vector3[]{
        new Vector3(0, -3, 0),
        new Vector3(3, 3, 0),
        new Vector3(-1, 4, 0),
        };

        // 点の数を指定する
        linerend.positionCount = positions.Length;

        linerend.loop = true;
        // 線を引く場所を指定する
        linerend.SetPositions(positions);
    }
}

角を丸くする
public int numCapVertices ;
public int numCornerVertices ;
numCapVertices は線の両端、numCornerVertices は線の角の丸みになります。0 より大きい値にすると丸くなっていきます。

(補足)
Vertice は ”頂点” を意味します。丸みを表すのではなく、両端、角の頂点の数を増やすことで丸くなっているように見えるというようになっています。
最後に
LineRenderer の使い方をまとめました。破線にしたり、アニメーションを追加したり、ほかにも応用は効きそうです。