Blazor - 標準の認証機能を追加する
初めに
Blazor では、認証機能を簡単に追加することができます。本記事では、標準機能として搭載されている Identity Server を使用した認証機能を追加する方法をまとめます。
認証機能の追加方法
追加の手順
Blazor WebAssenbly アプリに認証機能を追加します。
Blazor WebAssenbly アプリのプロジェクトを新規作成します。

認証の選択を「個別のアカウント」に変更し、作成します。

サンプルの実行結果
実行してみて、サンプルを見てみます。
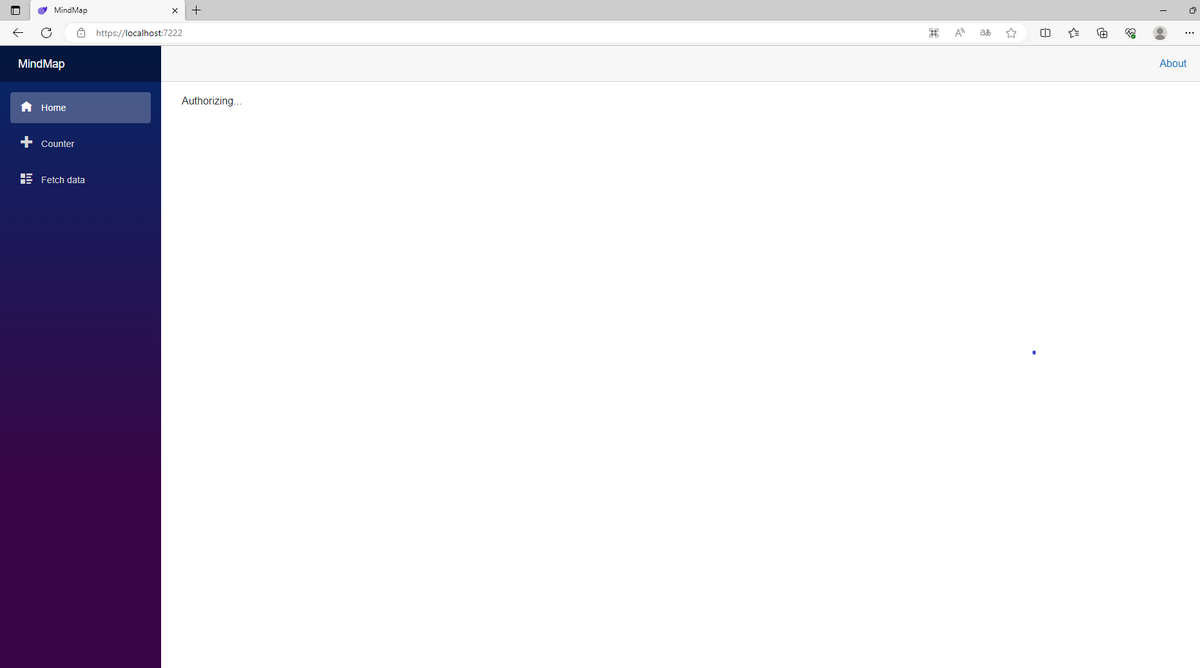
初めに Authoring... (認証中)と表示されます。
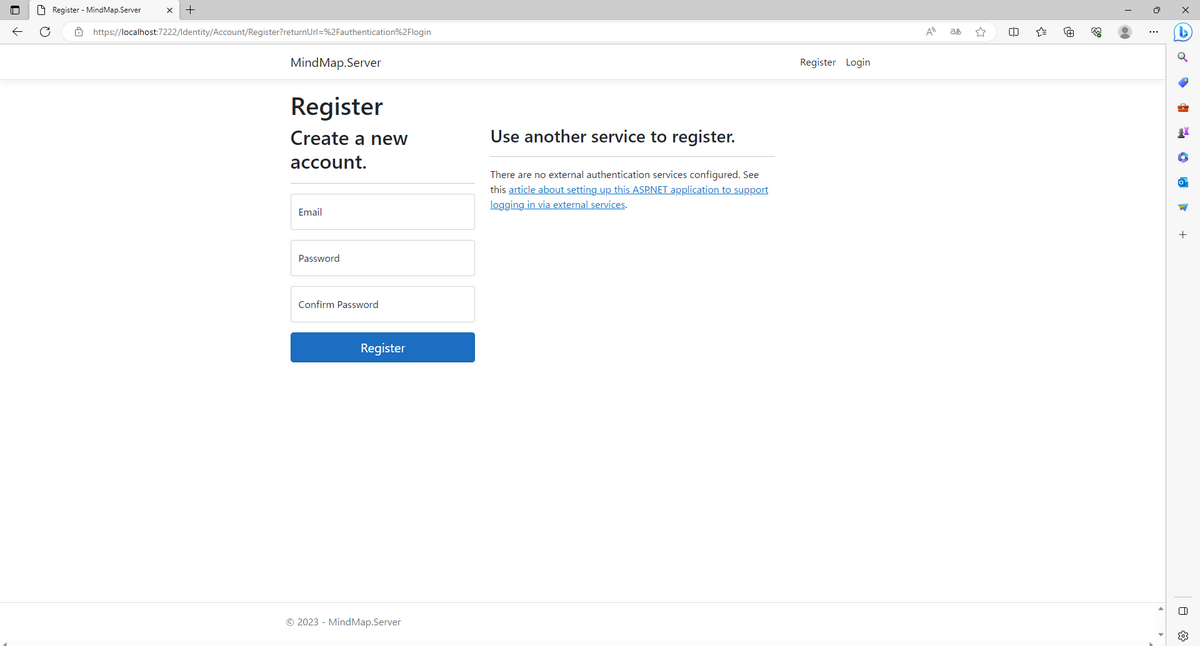
認証が終わったら、ログインされていない場合は、次のように Log in、Register ボタンが表示されます。

Fetch Data 以外はログインせずに見ることができる状態になっています。

Register ボタンをクリックすると、登録ページを開きます。
Fetch Data、Log in を開こうとすると There was an error trying to log you in: ' (500)' と表示されます。
認証の仕組みの確認
FetchData に関連するスクリプトを見て、認証機能を追加するためにしていることを確認します。
〇 FetchData.razor
@page "/fetchdata"
@using Microsoft.AspNetCore.Authorization
@using Microsoft.AspNetCore.Components.WebAssembly.Authentication
@using MindMap.Shared
@attribute [Authorize]  @* ここが追加 *@
@inject HttpClient Http

<PageTitle>Weather forecast</PageTitle>

<h1>Weather forecast</h1>

<p>This component demonstrates fetching data from the server.</p>

@if (forecasts == null)
{
    <p><em>Loading...</em></p>
}
else
{
    <table class="table">
        <thead>
            <tr>
                <th>Date</th>
                <th>Temp. (C)</th>
                <th>Temp. (F)</th>
                <th>Summary</th>
            </tr>
        </thead>
        <tbody>
            @foreach (var forecast in forecasts)
            {
                <tr>
                    <td>@forecast.Date.ToShortDateString()</td>
                    <td>@forecast.TemperatureC</td>
                    <td>@forecast.TemperatureF</td>
                    <td>@forecast.Summary</td>
                </tr>
            }
        </tbody>
    </table>
}

@code {
    private WeatherForecast[]? forecasts;

    protected override async Task OnInitializedAsync()
    {
        try
        {
            forecasts = await Http.GetFromJsonAsync<WeatherForecast[]>("WeatherForecast");
        }
        catch (AccessTokenNotAvailableException exception)  @* ここが追加 *@
        {
            exception.Redirect();
        }
    }
}
5行目の記述は Authorize 属性を追加しています。認証が必要であるという宣言です。
@attribute [Authorize]
OnInitializedAsync メソッドはコンポーネントが初期化されるタイミングで呼び出される関数です。
@code {
    private WeatherForecast[]? forecasts;

    protected override async Task OnInitializedAsync()
    {
        try
        {
            forecasts = await Http.GetFromJsonAsync<WeatherForecast[]>("WeatherForecast");
        }
        catch (AccessTokenNotAvailableException exception)  @* ここが追加 *@
        {
            exception.Redirect();
        }
    }
}
try-catch 文を使って、例外処理をしています。AccessTokenNotAvailableException で認証ができない場合の例外をスローし、リダイレクトされます。
〇 WeatherForcastController.cs
using Microsoft.AspNetCore.Authorization;
using Microsoft.AspNetCore.Mvc;
using MindMap.Shared;

namespace MindMap.Server.Controllers
{
    [Authorize]  //ここが追加
    [ApiController]
    [Route("[controller]")]
    public class WeatherForecastController : ControllerBase
    {
        private static readonly string[] Summaries = new[]
        {
        "Freezing", "Bracing", "Chilly", "Cool", "Mild", "Warm", "Balmy", "Hot", "Sweltering", "Scorching"
    };

        private readonly ILogger<WeatherForecastController> _logger;

        public WeatherForecastController(ILogger<WeatherForecastController> logger)
        {
            _logger = logger;
        }

        [HttpGet]
        public IEnumerable<WeatherForecast> Get()
        {
            return Enumerable.Range(1, 5).Select(index => new WeatherForecast
            {
                Date = DateOnly.FromDateTime(DateTime.Now.AddDays(index)),
                TemperatureC = Random.Shared.Next(-20, 55),
                Summary = Summaries[Random.Shared.Next(Summaries.Length)]
            })
            .ToArray();
        }
    }
}
こちらにも Authorize 属性がついていることが確認できます。
〇 Authorization.razor
@page "/authentication/{action}"
@using Microsoft.AspNetCore.Components.WebAssembly.Authentication
<RemoteAuthenticatorView Action="@Action" />

@code{
    [Parameter] public string? Action { get; set; }
}
クライアントプロジェクトの Pages フォルダ内にあります。
@page "/authentication/{action}"URL の設定です。URL が /authentication/{action} のとき、このページが表示されます。
@using Microsoft.AspNetCore.Components.WebAssembly.Authentication:
この行は、Blazorの認証関連機能を使用するために必要な名前空間をインポートしています。
例えば、/authentication/loginにアクセスすると、Actionパラメーターにはloginが渡され、RemoteAuthenticatorViewがそれを処理します。